In this article, you will see how to make a simple oscilloscope using Arduino Uno.
Contents
Oscilloscope is a device which is used to see and analyse the signals. But the device is very much expensive. As an electronic guy sometimes needs to analyse the signals where we cannot buy an oscilloscope for simple purposes. This article gives you information to make an oscilloscope capable of 0-5 v input.
Let’s get started …
Components Required for Arduino Oscilloscope :
Arduino Uno [Buy: Amazon India / Banggood / Gearbest ]
Few Jumper Wires
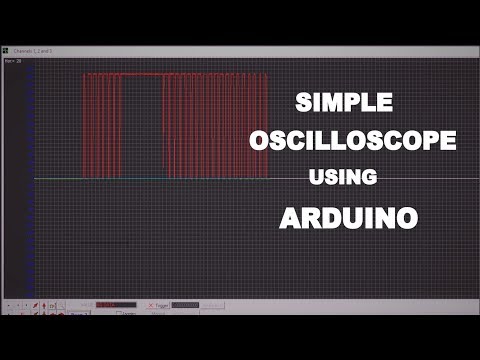
Complete Video of construction and testing
Steps to make Arduino Oscilloscope :
Step 1: Open Arduino IDE and Open the code, then upload it to the Arduino board. [ Download Arduino Code ]

Step 2: Open the serial oscilloscope file from the downloaded folder.

Step 3: Set the baud rate to 115200. Set the serial port to your Arduino board connected port.

Step 4: Click on the Oscilloscope button and select the channel. At a time you can see 3 channels in one window.

Step 5: Now here the probe connections are, every analog pin of the Arduino board can use as a channel. To activate multiple channels in the window you must enter the channel number in the terminal.

Everything is done.
If you have any doubts you can comment below or my youtube channel.
Don’t forget to subscribe my youtube channel.