Distance Measurement using Arduino Ultrasonic Sensor is a very easy project to measure shorter distance precisely. Before getting started you must know about Ultrasonic Sensor HCSR-04, which is a low-cost sensor. The ultrasonic sensor is consists of Transmitter and Receiver modules. Transmitter part ejects the pulse out and the receiver part receives the pulse. If an obstacle is placed before the sensor, the transmitted pulse ejected strike the obstacle and reflected back. The reflected pulse is received by the receiver part. The time between transmission and reception is calculated. This data is processed to calculate distance.
Contents
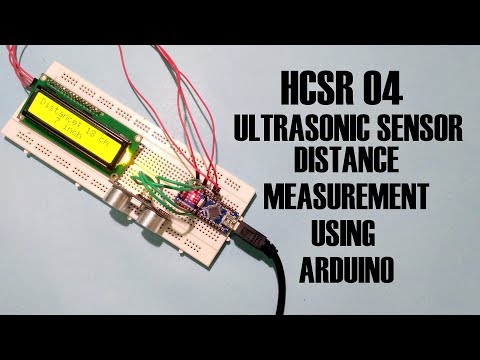
Step 1: Distance measurement using ultrasonic sensor and Arduino
In this project, we have used an HCSR-04 to determine the distance of an obstacle from the sensor. The basic principle of ultrasonic distance measurement is based on ECHO. When sound waves are transmitted in the environment then waves are returned back to the origin as ECHO after striking on the obstacle. So we only need to calculate the traveling time of both sounds means outgoing time and returning time to origin after striking on the obstacle. As the speed of the sound is known to us, after some calculation we can calculate the distance.

Components Used
- Arduino Uno or Arduino Nano
- UltrasoSensornsor Module
- 16×2 LCD I2c
- Breadboard
- Connecting wires
Step 2: Ultrasonic Rangefinder Circuit

Step 3: Distance measurement using ultrasonic sensor and Arduino Uno code
#include <Wire.h>
#include <LiquidCrystal_I2C.h>
LiquidCrystal_I2C lcd(0x27, 16,2);
const int trigPin = 3;
const int echoPin = 2;
long duration;
int distanceCm, distanceInch;
void setup() {
  lcd.begin(); // Initializes the interface to the LCD display
  lcd.backlight();
  pinMode(trigPin, OUTPUT);
  pinMode(echoPin, INPUT);
  Serial.begin(9600);
}
void loop() {
  digitalWrite(trigPin, LOW);
  delayMicroseconds(2);
  digitalWrite(trigPin, HIGH);
  delayMicroseconds(10);
  digitalWrite(trigPin, LOW);
  duration = pulseIn(echoPin, HIGH);
  distanceCm = duration * 0.0340 / 2;
  distanceInch = duration * 0.01330 / 2;
  lcd.setCursor(0, 0);
  lcd.print("Distance: ");
  Serial.println(distanceCm);
  lcd.print(distanceCm);
  lcd.print(" cm");
  lcd.setCursor(0, 1);
  lcd.print("    ");
  lcd.print(distanceInch);
  lcd.print(" inch");
  delay(1000);
}
Download i2c LCD library
Step 4: Working of Ultrasonic Sensor
- The high-level signal is sent to 10 microseconds using Trigger.
- The module sends 40 KHz signals automatically and then detects whether the pulse is received or not through Echo.
- If the signal is received, then it is through the high level. The time of high duration is the time gap between sending and receiving the signal is calculated.
Ultrasonic sensor distance measurement formula
Distance = (Time x Sound speed in Air (340 m/s))/2
For more information check this link
Step 5: Complete Video of Construction and Testing